You probably have heard about iMovie. It is a video-editing software created by Apple Inc., in which you can create and edit your very own videos, along with audios and recordings into them. It counts with the function for you add your own voice to any part of the video that you wish.
- Click the Audio label at the top, above your clips. The Audio Browser will open at the click. In the menu to the left, click the option Sound Effects.
- You can then classify through sound options by clicking on the icon of the blue folder and choosing a category from the list.
- When you are ready to insert an effect or music clip to the Timeline, drag and drop it from the Audio Browser directly to the Timeline.
- You can then modify the extent of your sound clip by pulling from the left or right ends.
- Your sound or music can be relocated in the Timeline by clicking on the top-third of the green bar and dragging it from an end to another in the Timeline.
- To record a voiceover, click Window on the menu bar, and select the Record Voiceover option. Another way is to simply press the letter “V” on your keyboard.

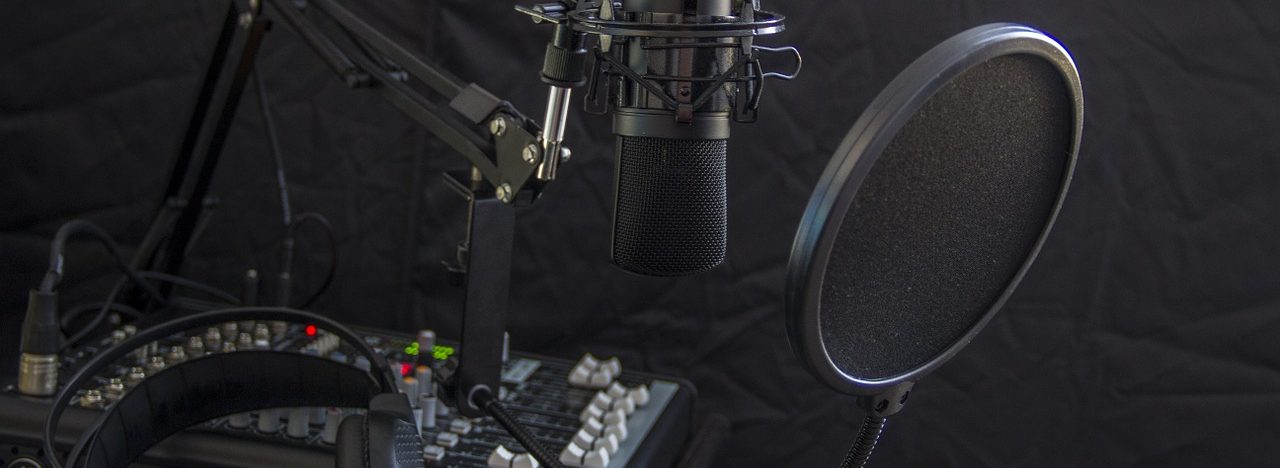
- The Voiceover routes will show below the Viewer Window. Make sure to pick up the proper microphone by clicking on the voiceover settings button, represented by the white slider bars.
- To finally record, click the red Record Button and the equipment will provide you with a 3-second countdown before starting to record.
- Press the Spacebar or click the red Record button again to stop recording. You can then follow the same steps for you to edit any type of audio inserted in your Timeline, from shortening by dragging it by the edges or moving it along your movie by dragging it from one spot to the other.

To provide your clip with a higher volume, maintain your cursor over the line that runs parallel by the side of the center of the green bar, then click and drag up or down depending on if you want the clip to be louder or quieter. If the ends of your waveforms turn red, then that means the clip is too loud and will sound distorted once played.
To make cuts for erasing or reorganizing certain parts of your recording, give a single click to said recording, at whatever part you want to make the cut, this will move the play head to where your cut will be done. Then select Modify on the menu bar, and click Split Clip, in the following menu that will be opened to you. (Another way is merely pressing “Command+B” on the keyboard.) This will divide your clip.
To erase part of your voiceover, click on it and hit delete (erase, suppress) on your keyboard.